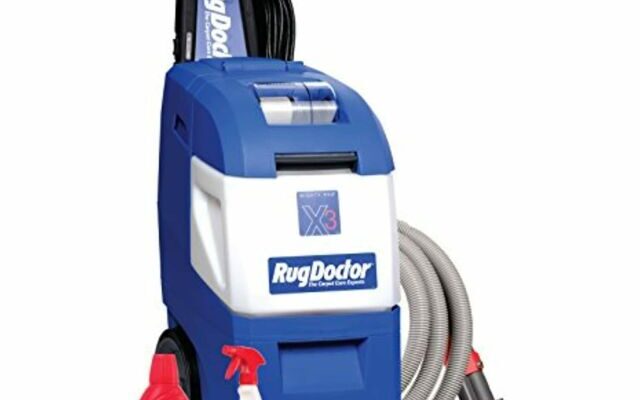
Using a Rug Doctor for deep cleaning carpets is an efficient way to maintain the cleanliness and freshness of your home. After a successful cleaning session, it’s important to know how to properly empty the water from your Rug Doctor to ensure its longevity and optimal performance for future cleaning tasks. In this guide, we will walk you through the step-by-step process of emptying water from your Rug Doctor.
Emptying Rug Doctor: A Step-by-Step Guide
Step 1: Safety First
Before beginning the process of emptying the water from your Rug Doctor, make sure to turn off the machine and unplug it from the electrical outlet. Safety should always be a top priority when handling any cleaning equipment.
Step 2: Gather Necessary Supplies
To efficiently empty the water from your Rug Doctor, you’ll need a few supplies handy:
- A drain or sink with sufficient space to empty the water.
- A large bucket.
- Cleaning gloves.
- Towels or rags for potential spills.
- A screwdriver (if required by your Rug Doctor model).
Step 3: Position the Rug Doctor
Move the Rug Doctor to a suitable location near a drain or sink where you can easily dispose of the dirty water. Make sure to place towels or rags underneath the machine to catch any potential drips or spills during the emptying process.
Step 4: Open the Dirty Water Tank
Most Rug Doctor models feature a dirty water tank that can be easily removed for emptying. Locate the tank on your machine; it’s usually located at the back or the bottom. Depending on the model, you might need to use a screwdriver to remove any fasteners securing the tank. Once the tank is accessible, carefully remove it from the Rug Doctor.
Step 5: Empty the Dirty Water
Carry the dirty water tank to the drain or sink. Hold it over the drain or sink and slowly pour the contents out. Be cautious not to splash or spill any water. Allow the tank to empty completely.
Step 6: Rinse the Dirty Water Tank
After emptying the dirty water, rinse the tank thoroughly with clean water to remove any remaining residue or debris. This will help prevent odors and buildup over time. Once rinsed, shake out any excess water and dry the tank with a clean towel.
Step 7: Reattach the Dirty Water Tank
If you had to remove any fasteners to access the dirty water tank, securely reattach them. Then, carefully slide the tank back into its original position on the Rug Doctor until you hear or feel it click into place.
Step 8: Clean the Machine
To ensure the Rug Doctor remains in optimal condition, wipe down the exterior of the machine with a damp cloth to remove any dirt, grime, or cleaning solution residue.
Step 9: Properly Store the Rug Doctor
After emptying the water and cleaning the machine, ensure that the Rug Doctor is stored in a dry and cool place. This will help prevent the growth of mold or mildew and extend the lifespan of the machine.
Conclusion:
Properly emptying the water from your Rug Doctor is a crucial step in maintaining its performance and longevity. By following this step-by-step guide, you can ensure that your Rug Doctor is always ready for the next deep cleaning task, keeping your carpets fresh and your home clean. Remember to prioritize safety, gather the necessary supplies, and take your time to complete each step carefully. With proper care and maintenance, your Rug Doctor will continue to be a reliable tool for maintaining a clean and inviting living space.

